project 5
Fun With Diffusion Models!

Part A: The Power of Diffusion Models!
Part 0: Setup
The seed I chose is 80808. Here are the images I generated for this part with 20 inference steps:
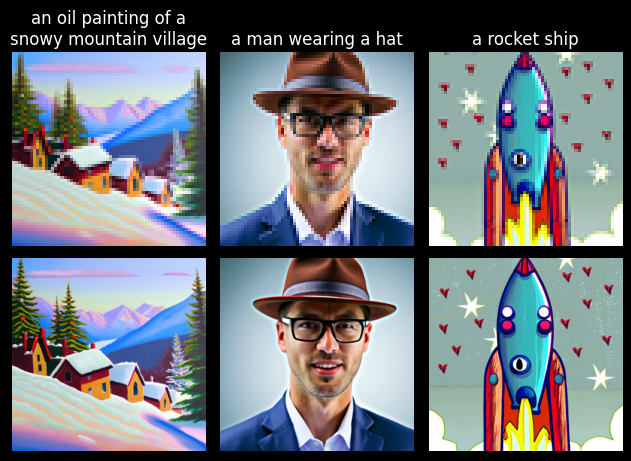
The quality of the images seems pretty consistent across different text prompts.
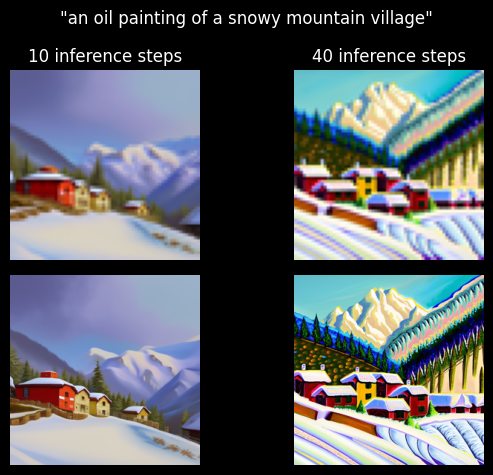
Here is the result of picking different numbers of inference steps:
Part 1: Sampling Loops
1.1 Implementing the Forward Process
I implemented the forward process according to the spec.

1.2 Classical Denoising
I tried to denoise the noised image with gaussian filtering. This worked about as well as expected.

1.3 One-Step Denoising
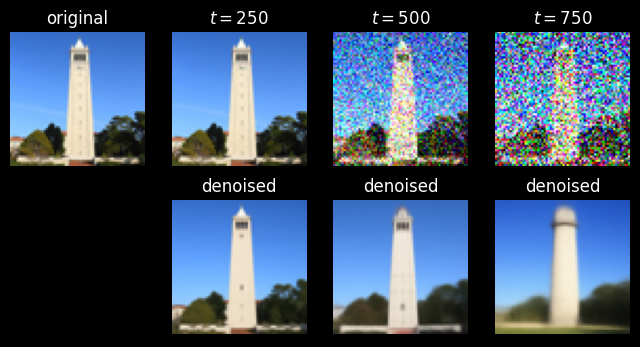
I implemented the one-step denoising process. I noticed that single-step denoising on an image with a lot of noise changed the content of the image.
1.4 Iterative Denoising
I implemented the iterative denoising process according to the spec. Here's a gif created from every frame of the denoising process.

And here's a comparison of the iterative denoising and other denoising methods:

1.5 Diffusion Model Sampling
By applying the iterative denoising steps that I defined in part 1.4 to pure noise, I was able to generate new images.


1.6 Classifier-Free Guidance (CFG)
I implemented classifier-free guidance according to the spec.


1.7 Image-to-image Translation
I applied various amounts of noise to the test image to get the following results.

Here is the result of applying different amounts of noise to cheems.

And here are the results for a picture I found on a cool wikipedia page about ecdysis.

1.7.1 Editing Hand-Drawn and Web Images
The image I chose from the web is nyan cat.

Here are the results of editing two images I drew.


1.7.2 Inpainting
Here is the inpainted image of the Campanile.

I wondered how the diffusion model would fill in nyan cat's rainbow trail. I was sort of disappointed.

I also wondered how the diffusion model would fill in Aphex Twin's face; I was similarly disappointed.

1.7.3 Text-Conditional Image-to-image Translation
I just turned everything into a rocket.


1.8 Visual Anagrams
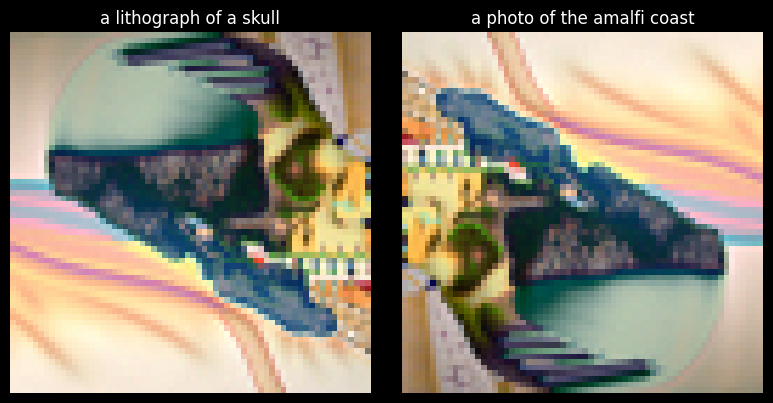
I was pleasantly surprised by how well this part worked. Here is my result for A visual anagram where on one orientation "an oil painting of people around a campfire" is displayed and, when flipped, "an oil painting of an old man" is displayed.
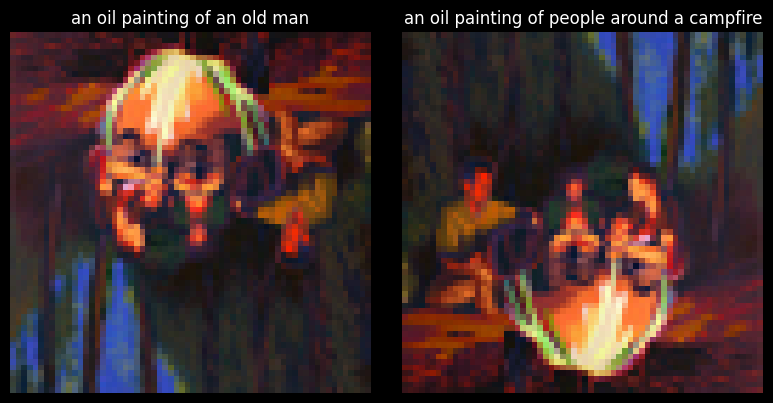
Here are my other results:
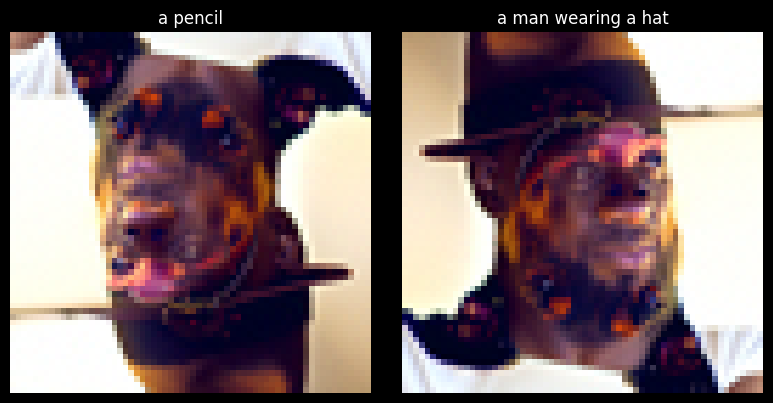
(NOTE: I'm well aware that the left image is not a pencil, but I plan to keep it this way because I think it's funny.)
1.9 Hybrid Images
Although I got odd results, I'm pretty sure I implemented this part correctly. To justify my odd results, I'll explain my steps.
-
Given my two prompts, \(p_1\) and \( p_2 \) I found noise estimates \(\epsilon_1(x_t, t, p_1) \) and \( \epsilon_2(x_t, t, p_2)\).
-
I convolved \(\epsilon_1\) and \(\epsilon_2 \) with a Gaussian kernel (\(k=33, \sigma = 2\), as recommended) to get the low-frequency components, \(\epsilon_1^{(LF)}\) and \(\epsilon_2^{(LF)}\).
-
I got the high-frequency component \(\epsilon_2^{(HF)} = \epsilon_2 - \epsilon_2^{(LF)}\).
-
I added \(\epsilon_1^{(HF)}\) and \(\epsilon_2^{(HF)}\) together to get the hybrid noise estimate \(\epsilon_{\text{hybrid}}\).
-
I used \( \epsilon_{\text{hybrid}} \) to denoise the image at time \(t\).
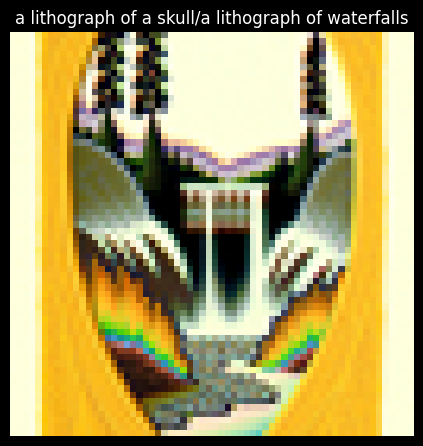
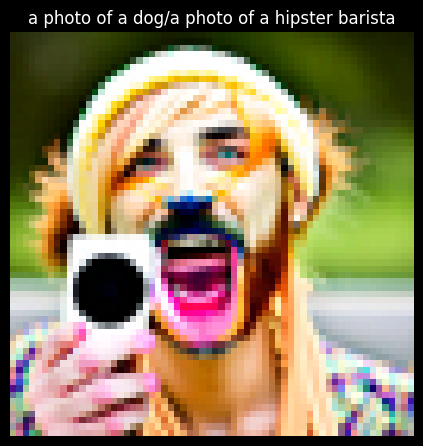
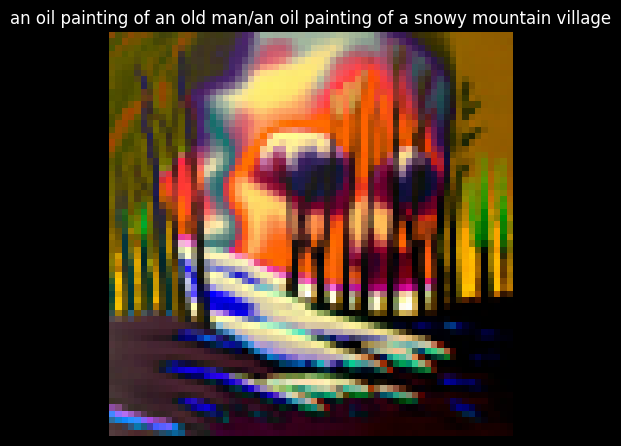
here is the result I got for the skull and waterfall:
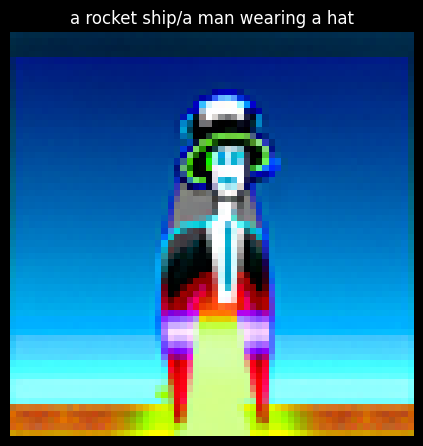
here are the other results I got:
Part B: Diffusion Models from Scratch!
Part 1: Training a Single-Step Denoising UNet
1.1 Implementing the UNet
I'm not sure what to show for this part. But I did it!
1.2 Using the UNet to Train a Denoiser
Given a clean image, \(x\), I noised it to get \(z = x + \sigma \epsilon\), where \(\epsilon \sim \mathcal{N}(0, 1)\), and \(\sigma \in \{0.0, 0.2, 0.4, 0.6, 0.8, 1.0\}\).
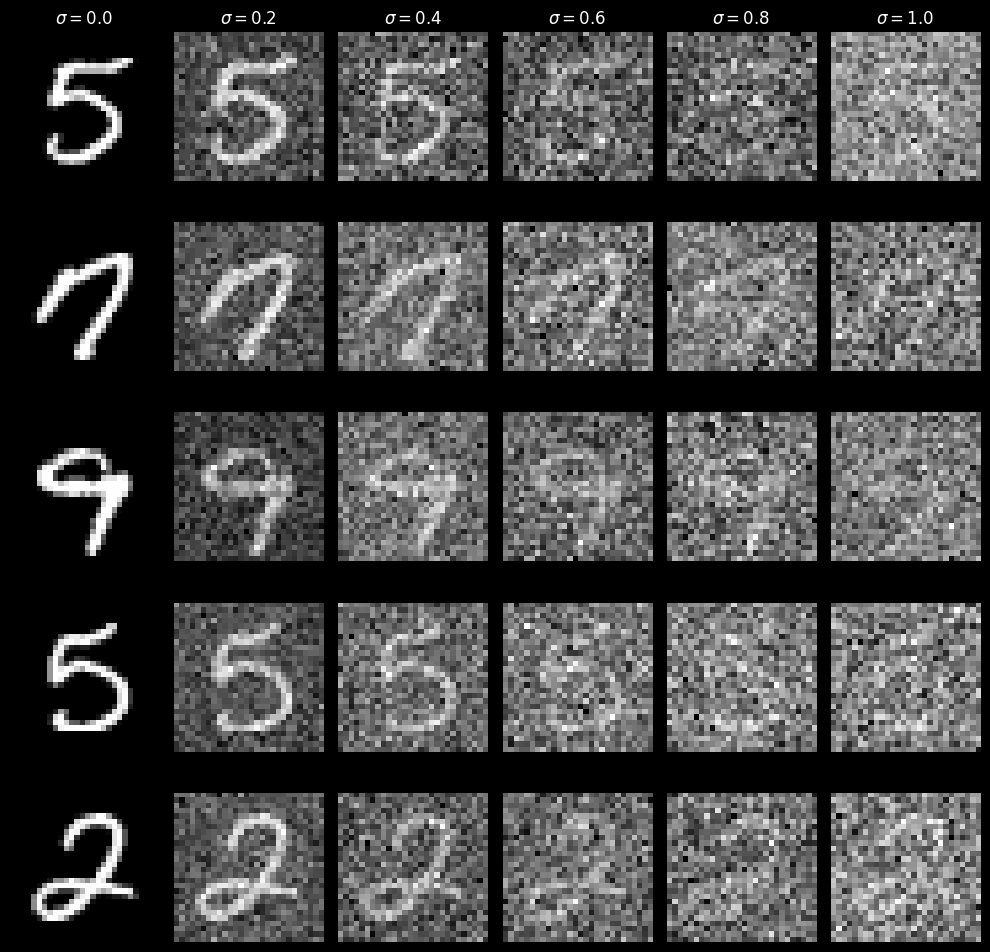
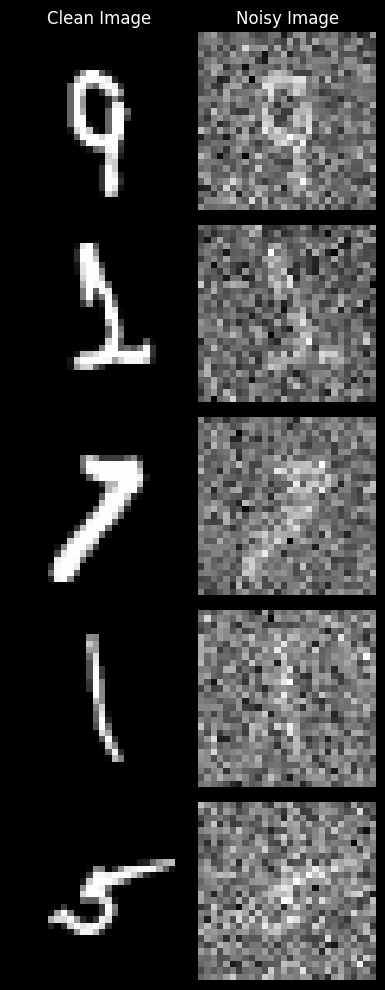
using this, I created a dataloader for training, which outputted batches of the form \((x, z)\) with \( \sigma = 0.5 \).
1.2.1 Training
I trained the UNet for 5 epochs as desired and plotted training loss.
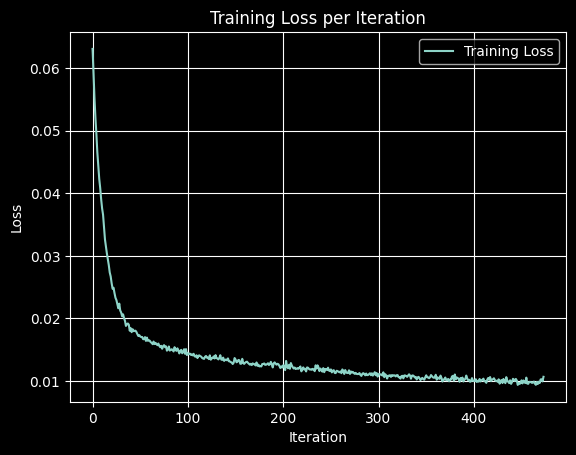
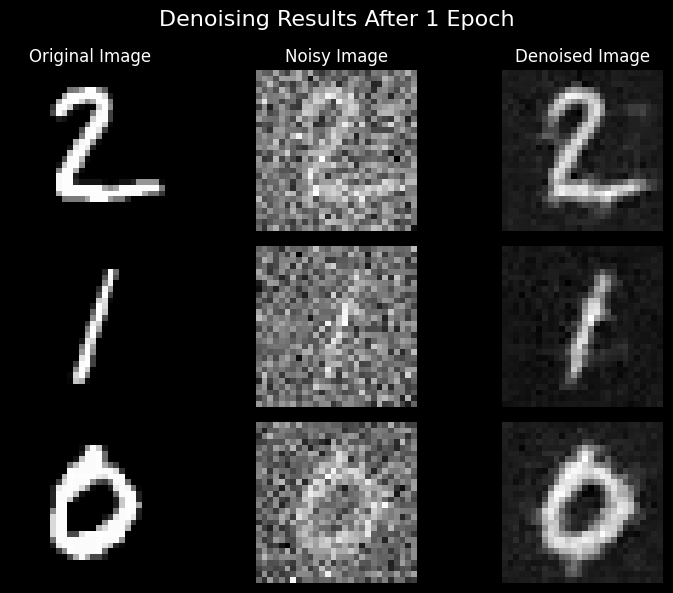
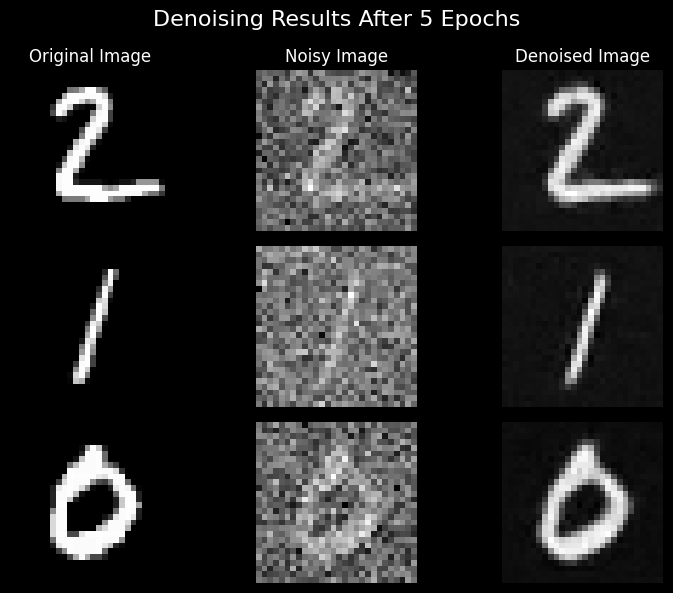
Pretty good!
1.2.2 Out-of-Distribution Testing
Then I tried denoising images with \(\sigma \neq 0.5\)
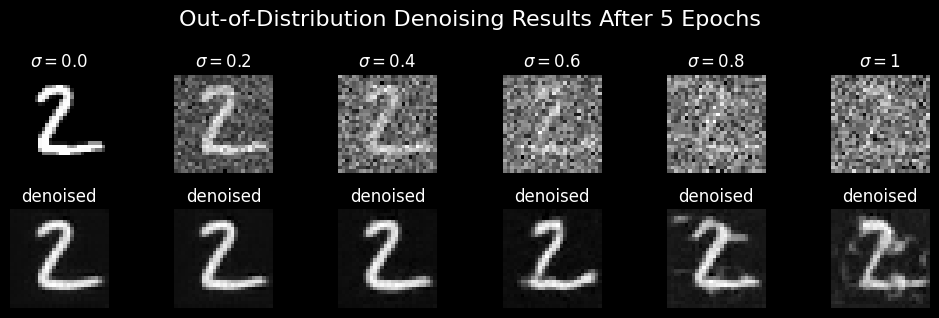
still, not bad!
Part 2: Training a Diffusion Model
2.1 Adding Time Conditioning to UNet
I followed the spec and implemented time conditioning. As the spec recommended, I used a a hidden dimension of 64 and a batch size of 128. For optimization, I used Adam with a learning rate of 0.001 and an exponential learning rate scheduler with \(\gamma = 0.9\).
2.2 Training the UNet
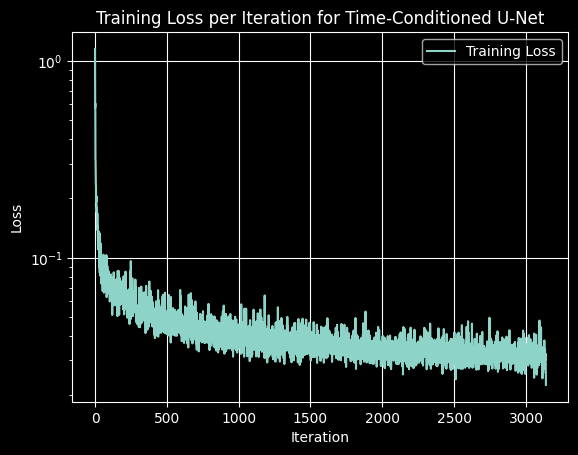
Here is the training loss for the time-conditioned UNet during 20 epochs.
2.3 Sampling from the UNet
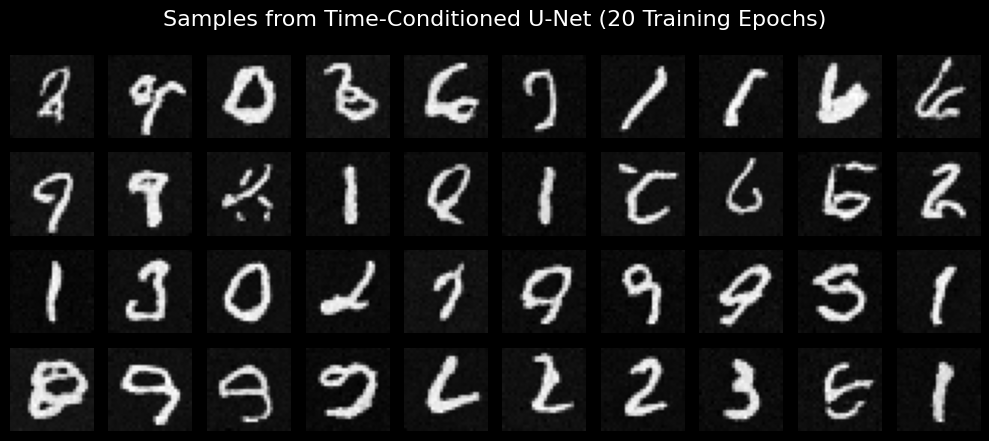
here are my results for 5 and 20 epochs of training.
2.4 Adding Class-Conditioning to UNet
I implemented class conditioning as specified in the spec. I used the same hyperparameters as in part 2.2, and got the following training loss for 20 epochs.

2.5 Sampling from the Class-Conditioned UNet
here are my results for 5 and 20 epochs of training.


Frankly the denoised results do not look as good as I would have wanted them to. My handwriting is also pretty bad, so maybe it's not my place to be so critical.